How to Send Emails in Node JS using the SendGrid API

Emails are an essential element of any business's communication; as more organizations establish an online presence, it becomes increasingly crucial for them to maintain effective contact with their consumers and staff; nevertheless, performing this activity manually may be time-consuming.
Twilio's SendGrid enables businesses to meet this demand by providing a CRM that is adaptable and extremely efficient.
In this article, we'll look at how to send emails in Node JS using the SendGrid API.
Prerequisites
You'll need
- Node.js: Make sure you have node. js version 14.6.1 or higher installed in your system.
- Text Editor: For this article, I'll be using VSCode, but you are free to use any editor of your choice.
- SendGrid Account: If you are new you can sign up or if you already have an account just login.
Getting Started with SendGrid
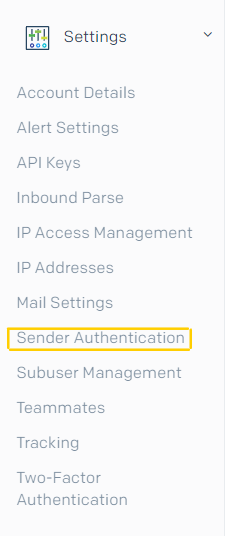
Following the successful creation of your account, you will be led to the SendGrid dashboard. On the left sidebar, you'll find a lot of categories, but for now, we are only interested in the Sender Authentication under the settings dropdown menu and Email API.
Sender Authentication
The first step is to authenticate the sender from whom the email will be sent. If you are a new user, you will be asked to verify the sender when you log in.
Navigate to the left panel and click the settings dropdown menu to select Sender Authentication.
After selecting, you'll be directed to this page.
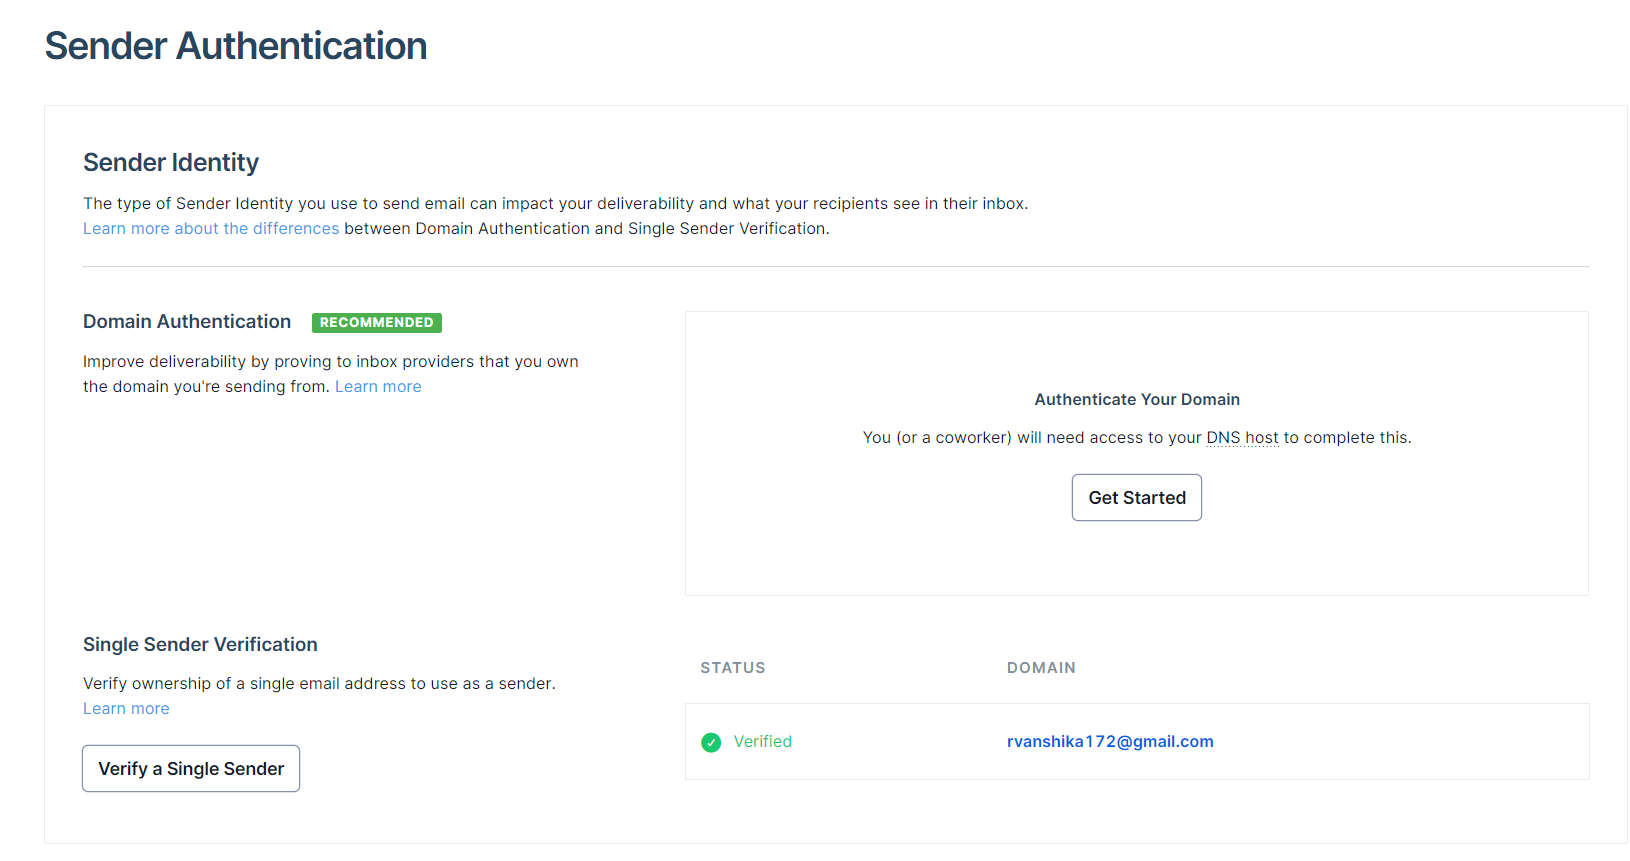
There are two types of authentication Domain Authentication and Single Sender Verification.
Domain Authentication allows all email addresses linked with your domain to send emails, whereas Single Sender Verification only allows one email address to send emails.
- For the time being, we'll only be authenticating one user, so click the "Verify a Single Sender" button. You will be sent to the following page. Fill out all of the required information and create the verified account.

Email API
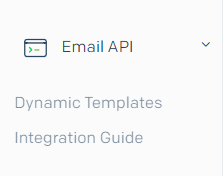
- Now, we'll get the Email API key to integrate SendGrid with our Node JS. From the left panel select Email API and then Integration Guide.
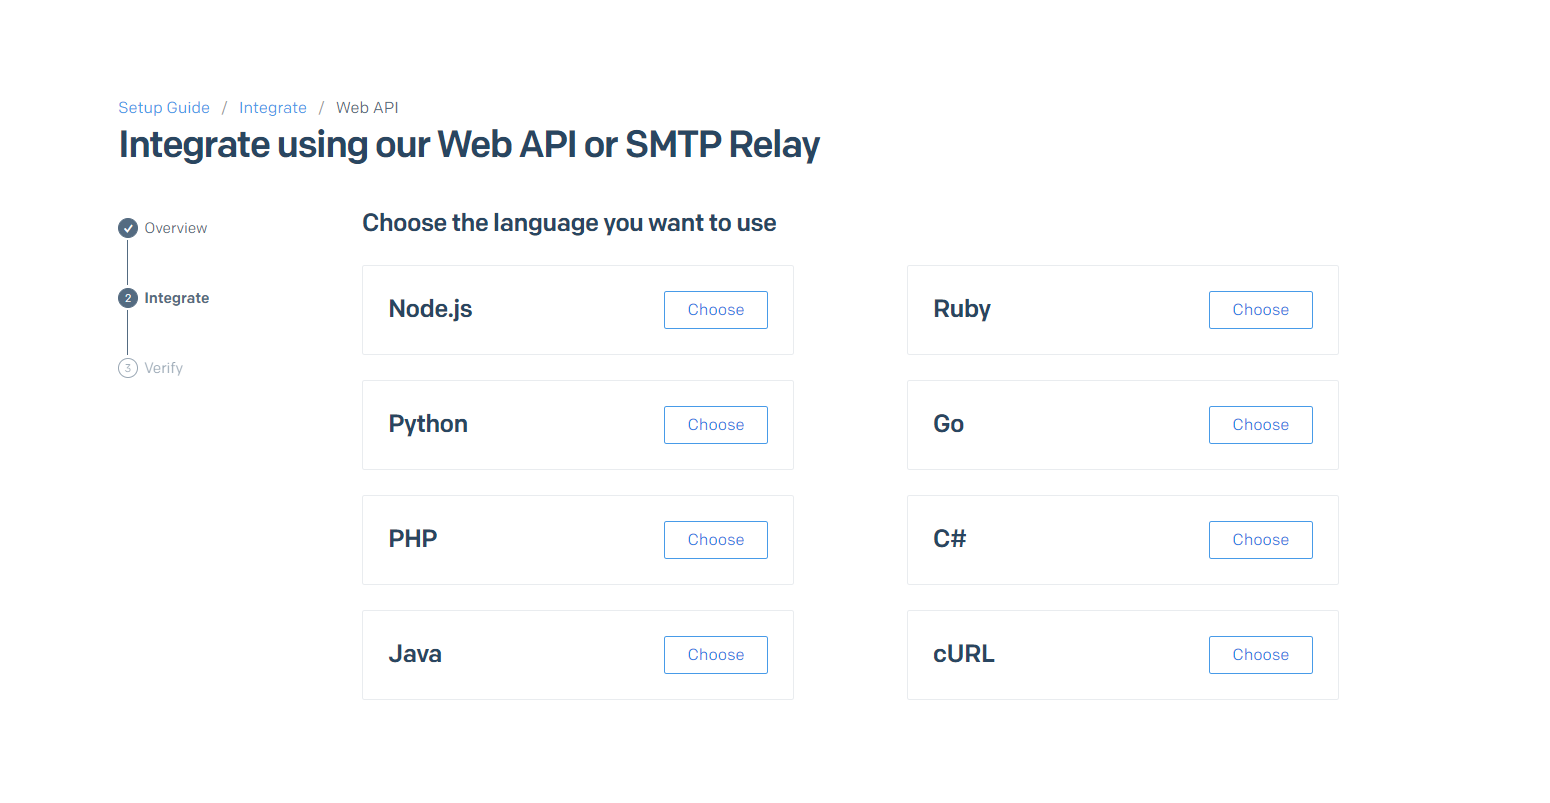
- You'll be sent to a page similar to this one. Select "Web API" now.
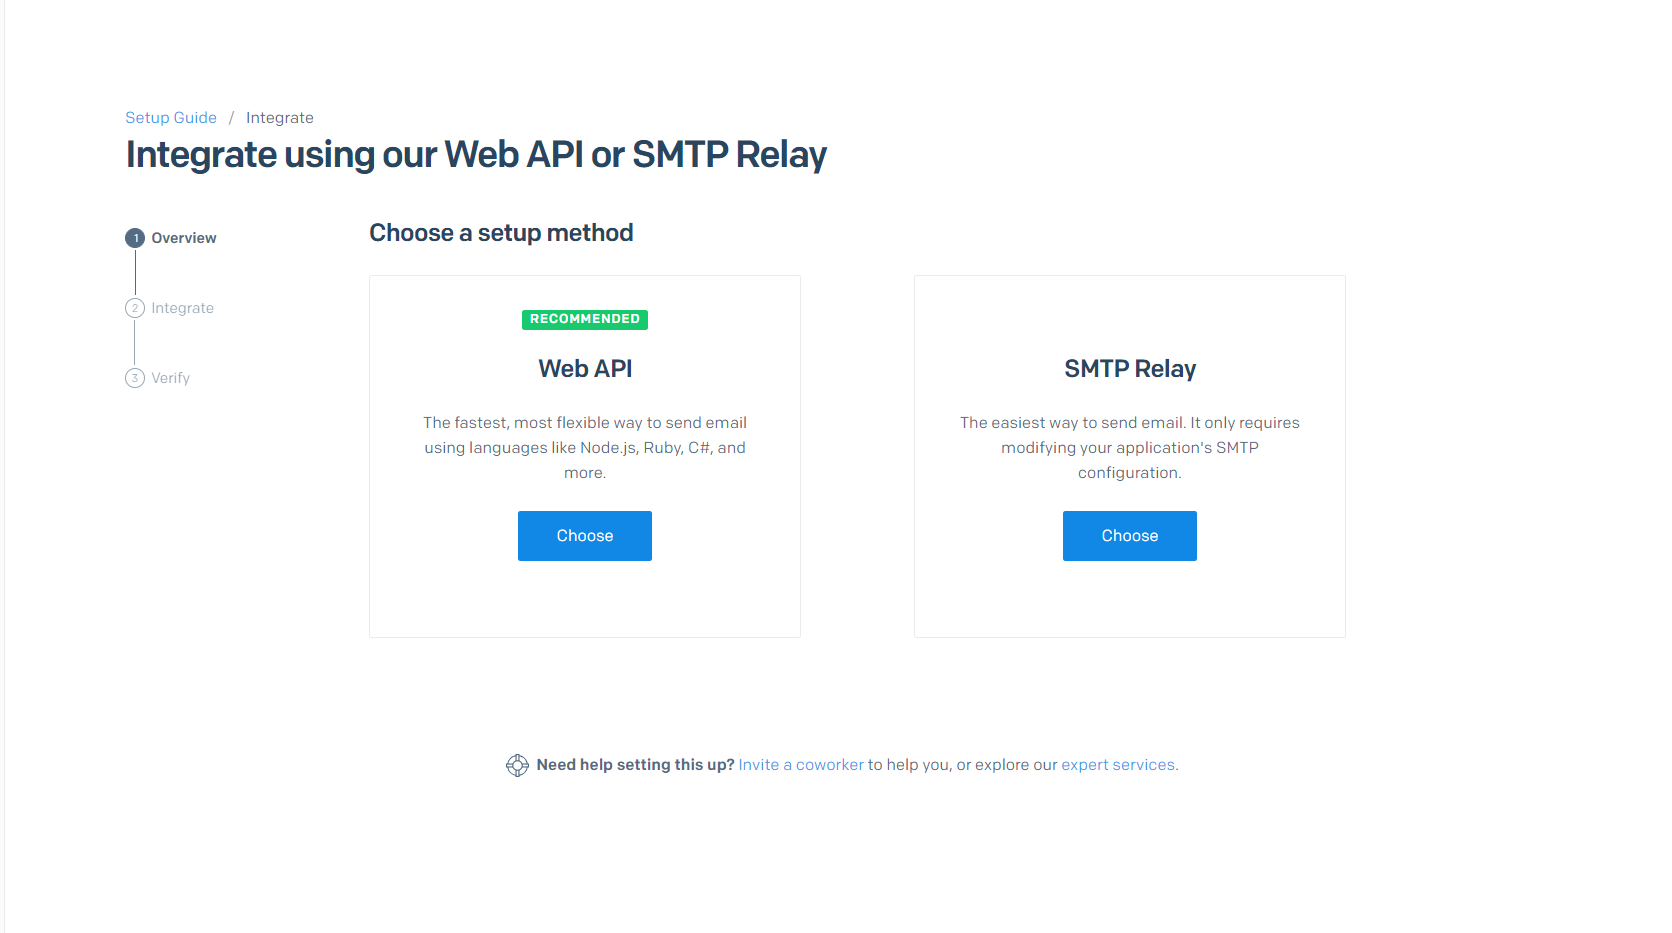
- Choose Node.js
- Give a name to your API key and click "Create Key"
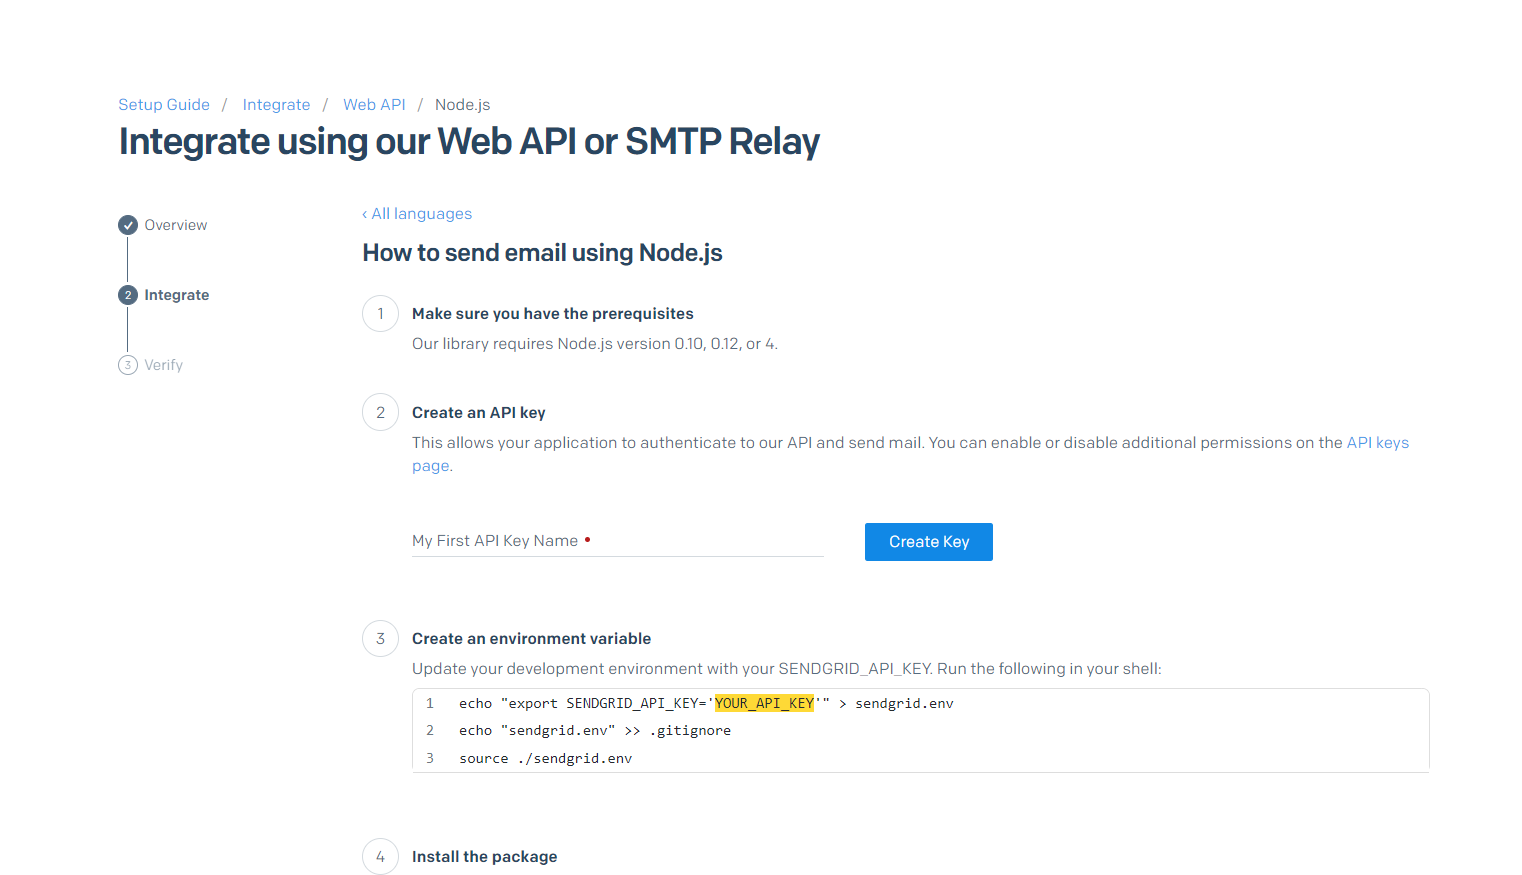
- Copy the key and keep it somewhere safe.
Integrating with Node JS
Now that we've got our API key, we'll get to work on integrating it with Node JS.
- Make a new folder and open it in VSCode (or any other editor).
- Open the terminal, run the following and follow the instructions:
npm init
This will set up an npm project.
- Run the following commands in your terminal to configure environment variables.
Replace "YOUR_API_KEY" with the key you copied above.
echo "export SENDGRID_API_KEY='YOUR_API_KEY'" > sendgrid.env
echo "sendgrid.env" >> .gitignore
source ./sendgrid.env
- Now, using npm, install the SendGrid package.
npm install --save @sendgrid/mail
- Create an index.js file. This will include the code for sending emails using SendGrid.
First, we'll import the API key from the .env file into the index. js
const sgMail = require('@sendgrid/mail')
sgMail.setApiKey(process.env.SENDGRID_API_KEY)
Now we'll write the message that will be delivered by email. This message includes the recipient's address, the sender's address, the subject, and the body. It can also contain custom HTML to style the content.
const msg = {
  to: 'test@example.com', // Recipients email address
  from: 'test@example.com', // Verified Sender: The email address that we verified in the preceding section.
  subject: 'Sending with SendGrid is Fun',
  text: 'Hey! How are you doing?', // Either text or html should be used
  html: '<strong>Hey! How are you doing?</strong>',
}
We can also send an email to several users at the same time by using arrays.
...
to: ['test@example.com', 'test2@example.com', ' test3@example.com']// List of recipients addresses
...
Another change we may make is to include the Sender's name. This name will be displayed to recipients when they get the email.
...
from: {
    name: 'THIS IS MY NAME',
    email:'test@example.com'
},
...
Finally, we'll use the send() function to send the email using the SendGrid API.
sgMail
  .send(msg)
  .then(() => {
    console.log('Email sent successfully ... ')
  })
  .catch((error) => {
    console.error(error)
  })
The index.js file should look something like this.
const sgMail = require('@sendgrid/mail')
sgMail.setApiKey(process.env.SENDGRID_API_KEY)
const msg = {
  to: ['test@example.com', 'test2@example.com', ' test3@example.com'],
  from: {
    name: 'THIS IS MY NAME',
    email:'test@example.com'
},
  subject: 'Sending with SendGrid is Fun',
  html: '<strong>Hey! How are you doing?</strong>',

};
sgMail
  .send(msg)
  .then(() => {
    console.log('Email sent successfully ...')
  })
  .catch((error) => {
    console.error(error)
  })
Let's Send the Email
Now that we have integrated Node JS and SendGrid, we will execute our code. In the terminal, run the following command:
node index.js
Check the email address to which you sent the message!
Conclusion
Hope you liked this tutorial and had fun integrating email services in your Node JS project. SendGrid is a very adaptable and powerful platform with numerous modifications and possibilities. You can check them out by heading over to SendGrid docs.


